


公司名稱(chēng):上海賈聰電子商務(wù)有限公司
法人代表:賈麗娟
注冊(cè)地址:上海市奉賢區(qū)海坤路1號(hào)1幢
所屬行業(yè):零售業(yè)
更多行業(yè):百貨零售,綜合零售,零售業(yè),批發(fā)和零售業(yè)
PRODUCT
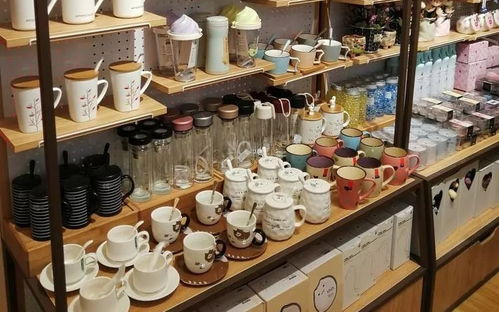
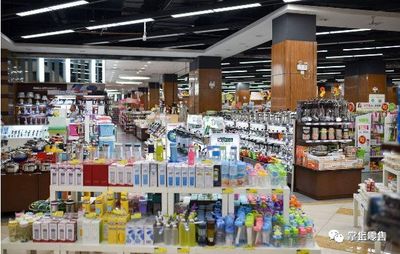
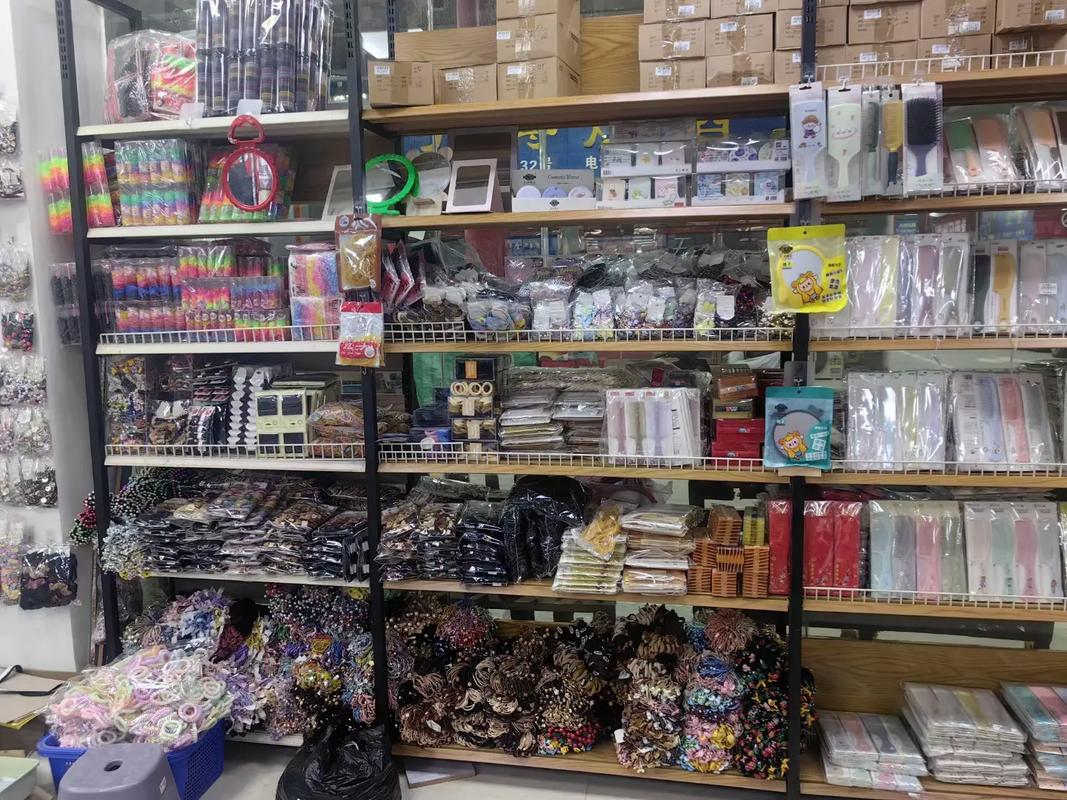
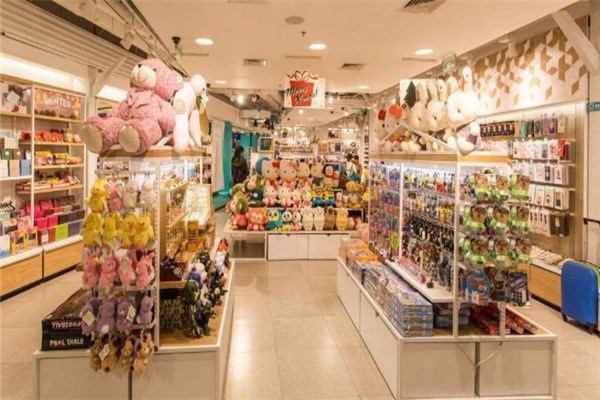
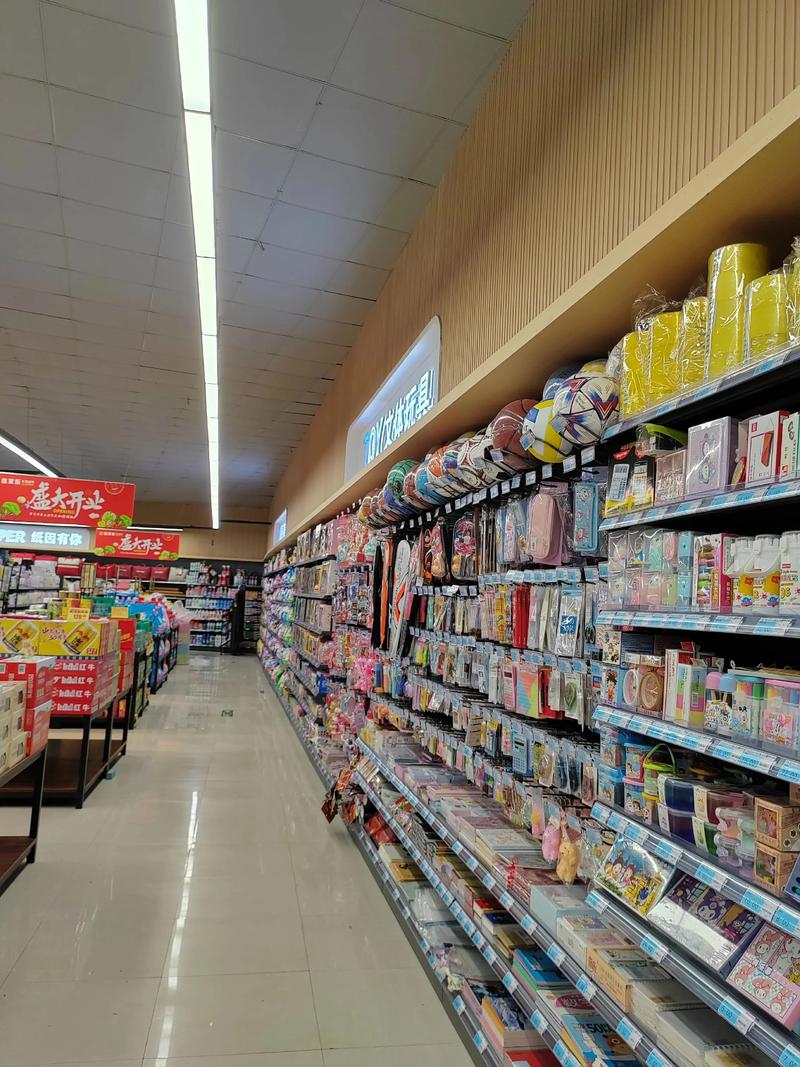
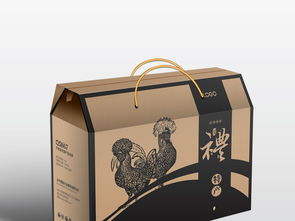
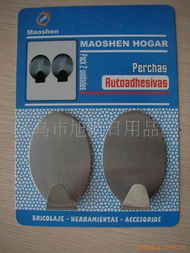
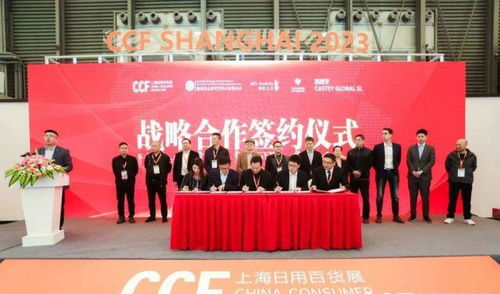
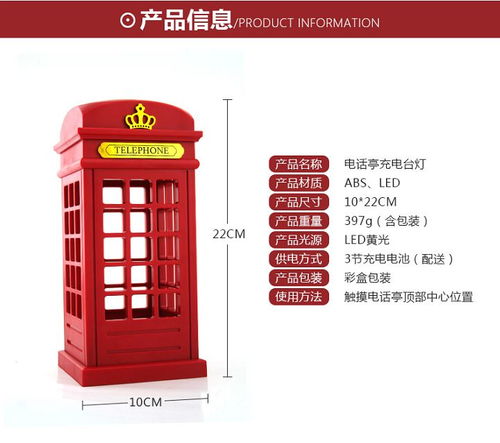
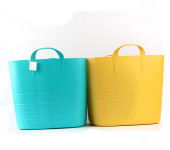
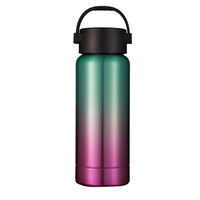
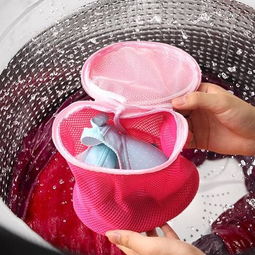
產(chǎn)品列表
更新時(shí)間:2026-06-19 14:49:19
更新時(shí)間:2026-06-19 14:19:05
更新時(shí)間:2026-06-19 15:01:42
更新時(shí)間:2026-06-19 16:10:27
Contact
聯(lián)系我們
電話(huà):1888838**
郵箱:18888888d**[email protected]
網(wǎng)址:www.muzijiang.cn
地址:上海市奉賢區(qū)海坤路1號(hào)1幢
Information
企業(yè)信息
公司名稱(chēng):上海賈聰電子商務(wù)有限公司
法人代表:賈麗娟
注冊(cè)地址:上海市奉賢區(qū)海坤路1號(hào)1幢
所屬行業(yè):零售業(yè)
更多行業(yè):百貨零售,綜合零售,零售業(yè),批發(fā)和零售業(yè)
經(jīng)營(yíng)范圍:一般項(xiàng)目:互聯(lián)網(wǎng)銷(xiāo)售(除銷(xiāo)售需要許可的商品);日用百貨銷(xiāo)售。(除依法須經(jīng)批準(zhǔn)的項(xiàng)目外,憑營(yíng)業(yè)執(zhí)照依法自主開(kāi)展經(jīng)營(yíng)活動(dòng))
INTRODUCTION
企業(yè)簡(jiǎn)介
上海賈聰電子商務(wù)有限公司成立于2023年09月06日,注冊(cè)地位于上海市奉賢區(qū)海坤路1號(hào)1幢,法定代表人為賈麗娟。經(jīng)營(yíng)范圍包括一般項(xiàng)目:互聯(lián)網(wǎng)銷(xiāo)售(除銷(xiāo)售需要許可的商品);日用百貨銷(xiāo)售。(除依法須經(jīng)批準(zhǔn)的項(xiàng)目外,憑營(yíng)業(yè)執(zhí)照依法自主開(kāi)展經(jīng)營(yíng)活動(dòng))